
# Overview
Destinations, like Actions, abstract the delivery and connection logic required to send events to services like Amazon S3, or targets like HTTP and email.
However, Destinations are different than Actions in two ways:
- Events are delivered to the Destinations asynchronously, after your workflow completes. This means you don't wait for network I/O (e.g. for HTTP requests or connection overhead for data warehouses) within your workflow code, so you can process more events faster.
- In the case of data stores like S3 and warehouses like Snowflake, you typically don't want to send every event on its own. This can be costly and confers little benefit. Instead, you typically want to batch a collection of events together, sending the batch at some frequency. Destinations handle that batching for relevant services.
The docs below discuss features common to all Destinations. See the docs for a given destination for information specific to those destinations.
# Available Destinations
# Adding a Destination
# Adding a Destination using Actions
The simplest way to send data to a Destination is using one of our pre-built Actions. Just add the relevant Action, enter the required values, and send data to your workflow!
For example, you can use the Send HTTP Request Action to send an HTTP request from a workflow. First, add a new Action to your workflow by clicking on the + button between any two steps.
Then, choose the Send HTTP Request action and add the URL and Payload.
This action defaults to sending an HTTP POST request with the desired payload to the specified URL. If you'd like to change the HTTP method, add Basic auth, query string parameters or headers, you can click the sections below the Payload field.
# Using $send
You can send data to Destinations in Node.js code steps, too, using $send functions.
$send is an object provided by Pipedream that exposes destination-specific functions like $send.http(), $send.s3(), and more. This allows you to send data to destinations programmatically, if you need more control than Actions afford.
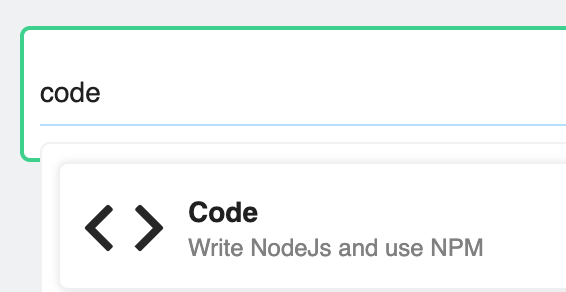
Let's use $send.http() to send an HTTP POST request like we did in the Action example above. Add a new Action, then search for "Code":
Create an endpoint URL on RequestBin, adding the code below to your code step, with the URL you created:
$send.http({
  method: "POST",
  url: "[YOUR URL HERE]",
  data: {
    name: "Luke Skywalker",
  },
});
See the docs for the HTTP destination to learn more about all the options you can pass to the $send.http() function.
Again, it's important to remember that Destination delivery is asynchronous. If you iterate over an array of values and send an HTTP request for each:
const names = ["Luke", "Han", "Leia", "Obi Wan"];
for (const name of names) {
  $send.http({
    method: "POST",
    url: "[YOUR URL HERE]",
    data: {
      name,
    },
  });
}
you won't have to await the execution of the HTTP requests in your workflow. We'll collect every $send.http() call and defer those HTTP requests, sending them after your workflow finishes.
# Asynchronous Delivery
For every event sent to a workflow, for each Destination you've added, we send the specified payload to the desired Destination.
Events are delivered to Destinations asynchronously — that is, separate from the execution of your workflow. This means you're not waiting for network or connection I/O in the middle of your function, which can be costly.
Some Destination payloads, like HTTP, are delivered within seconds. For other Destinations, like S3 and SQL, we collect individual events into a batch and send the batch to the Destination. See the docs for a specific Destination for the relevant batch delivery frequency.